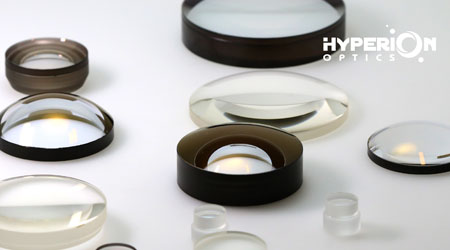
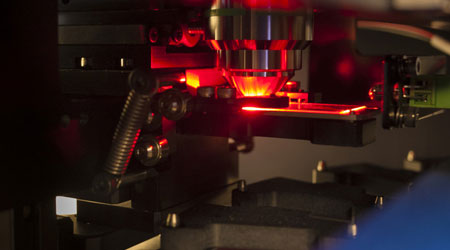
Hyperion tests every optical specification on the print 100% and provides complete inspection data and Certificate of Compliance (COC) for each production batch. Our manufacturing and QA inspection processes strictly follow ISO:9001:2015 standards, offering our customers a worry-free procurement experience.
The flow chart below illustrates the standard QA processes in a spherical lens production at our facility at Hyperion Glass Company. An assigned
QA manager oversees the production process and implement corresponding
quantitative measurements at every step of production to ensure lens quality.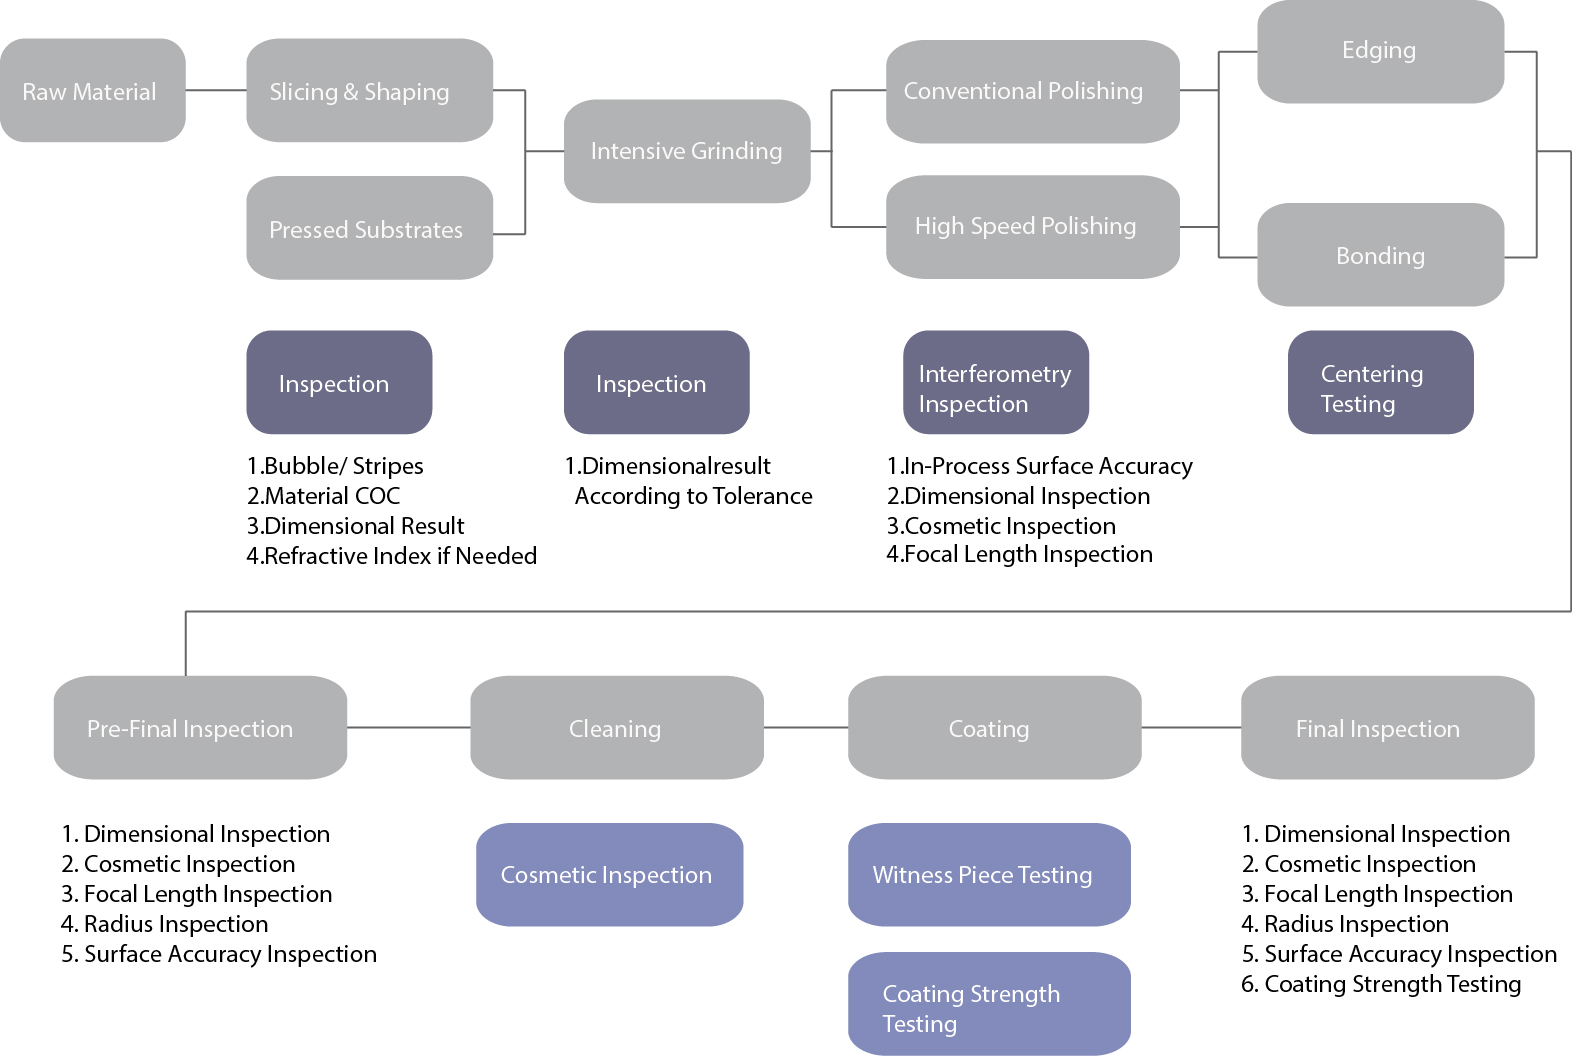
After the optics are completed,
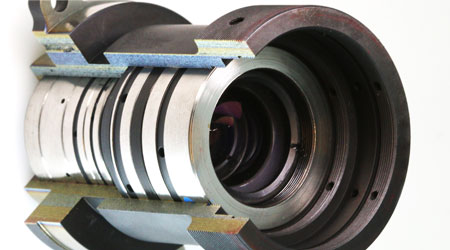
they are now ready for assembly. Our skilled assembly technicians employ a full
range of metrology during assembly to finetune alignment precision and
accuracy.
Furthermore, Hyperion conducts thorough testing to ensure that the assemblies we produce will meet or exceed the optical performance specifications required for your application needs. A detailed report on MTF plots, focal length, F#, chromatic aberration, and distortion will be provided.
Below chart
illustrates Hyperion’s inspection process for precision assembly 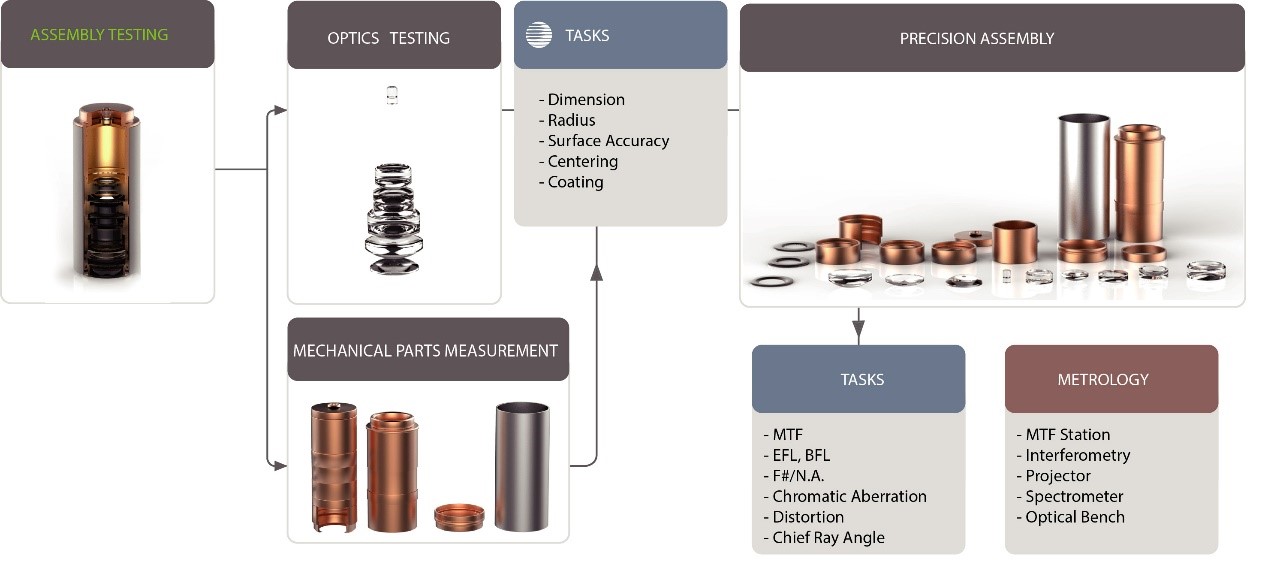
Our documentation includes all critical
parameters; Hyperion’s packaging and labeling provides safe and accurate traceability
for each batch shipment. A detailed inspection report including dimensional
measurements, Zygo interferometry reports, and actual coating curves are
provided along product shipment.
Contact us today to request a sample inspection report.
 Call us on:
  Email us:
  9B-4F, No.1 Qingnian Road Liando U Valley,Yuhua International Wisdom Valley, Nanjing, 210039 China


 English
  cn
cn  de
de  es
es  fr
fr 